Jiffy Seed Starting Greenhouse Kit Instructions: A Comprehensive Guide
Embark on a successful gardening journey! This guide details using the Jiffy Greenhouse Kit, simplifying seed starting with peat pellets – just add water and seeds!
Understanding the Jiffy Seed Starting Greenhouse Kit Components
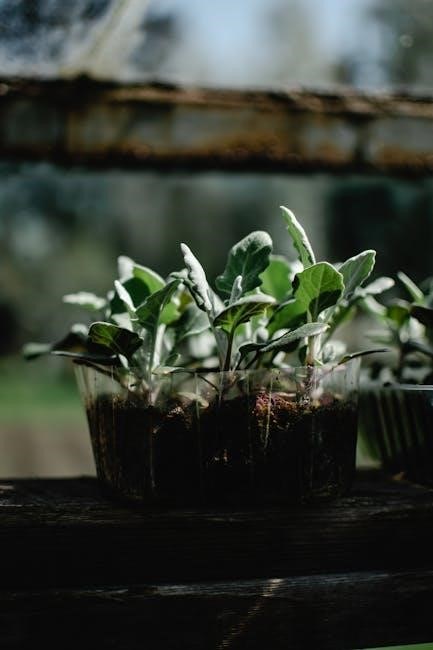
Your Jiffy Greenhouse Kit arrives thoughtfully assembled, ready to nurture your seedlings․ The core of the system lies within the 36mm peat pellets, designed to expand and provide a perfect growing medium․ These pellets cleverly combine pot and soil into one convenient unit, saving valuable space․
Included is the greenhouse structure itself, offering a controlled environment for optimal germination․ Familiarize yourself with the tray, lid, and any supporting inserts․ The kit’s simplicity is a key feature, allowing even beginner gardeners to easily start seeds indoors․ Understanding each component ensures a smooth and successful seed-starting experience, maximizing your plant’s potential from the very beginning․
Identifying the Peat Pellets (36mm Size)
Jiffy peat pellets, specifically the 36mm size, are compact discs of compressed peat moss․ These are the foundation of your seed starting process․ In their dry state, they appear small and dense, but possess remarkable water absorption capabilities․ Look for the circular, dark brown pellets within your kit․
The 36mm designation refers to the diameter of the expanded pellet, providing ample room for root development․ These pellets are designed to swell significantly when hydrated, creating a self-contained growing medium․ They eliminate the need for separate pots and potting soil initially․ Recognizing the correct pellet size is crucial for successful germination and healthy seedling growth, ensuring a strong start for your plants․
The Importance of Water Quality for Seed Starting
Using the correct water is vital when expanding your Jiffy peat pellets and throughout the seed starting process․ Avoid using heavily chlorinated water, as chlorine can inhibit seed germination and harm delicate seedlings․ Ideally, use rainwater, distilled water, or tap water that has been allowed to sit for 24 hours to allow chlorine to dissipate․
Water temperature also plays a role; lukewarm water is best for pellet expansion․ Cold water slows the process, while hot water can damage the peat moss․ Maintaining good water quality ensures optimal conditions for seed germination, healthy root development, and prevents potential issues like fungal growth․
Setting Up Your Jiffy Greenhouse
Prepare for successful seed starting! Expand the peat pellets, assemble the greenhouse for stability, and create the perfect environment for your future plants․
Expanding the Peat Pellets: Step-by-Step
Begin by placing the compressed peat pellets within the Jiffy Greenhouse tray․ Slowly pour lukewarm water over each pellet, ensuring complete saturation – avoid cold water! Observe as the pellets gradually expand, a fascinating transformation․ Allow sufficient time for full expansion, typically around 5-10 minutes, until they reach their maximum size․
Ensure each pellet is thoroughly hydrated; gently press down if needed to fully submerge any remaining dry portions․ Excess water can be carefully drained from the tray to prevent waterlogging․ The expanded pellets now provide a perfect, self-contained growing medium, ready for sowing your chosen seeds․ This simple step is crucial for successful germination and seedling development․
Water Temperature Guidelines for Optimal Expansion
Maintaining the correct water temperature is vital for efficient peat pellet expansion․ Lukewarm water, ideally between 70-75°F (21-24°C), is recommended․ Avoid using cold water, as it significantly slows down the expansion process and can shock the pellets․ Hot water, conversely, may damage the peat and hinder seed germination later on․
Consistent temperature ensures uniform swelling, creating an ideal environment for root development․ A thermometer is helpful for accurate measurement․ Properly expanded pellets offer excellent aeration and drainage, crucial for healthy seedlings․ Remember, water quality also matters – use filtered or rainwater when possible to avoid introducing harmful chemicals․
Greenhouse Assembly: Ensuring Stability
Proper assembly guarantees a stable environment for your seedlings․ Begin by unfolding the greenhouse frame, ensuring all connecting pieces click securely into place․ The Jiffy Greenhouse kit is designed for easy, tool-free setup․ Once the frame is assembled, position it on a level surface – this prevents water pooling and ensures even light distribution․
Check for any wobbling; if present, gently adjust the frame until it stands firmly․ A stable greenhouse protects delicate seedlings from drafts and physical damage․ The clear dome allows maximum light penetration while maintaining humidity․ Secure the dome tightly to the base to retain warmth and create a miniature, controlled ecosystem․
Seed Starting Process
Now, select quality seeds and sow them directly into the expanded peat pellets within your Jiffy Greenhouse for optimal germination and growth!
Choosing the Right Seeds for Your Kit
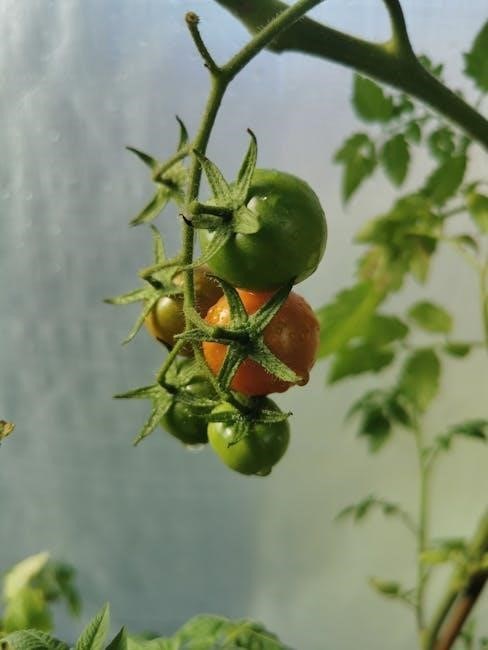
Selecting the appropriate seeds is crucial for success with your Jiffy Greenhouse kit․ Consider your local climate and growing season when making your choices․ Many vegetables, herbs, and flowers thrive when started indoors using peat pellets․
Beginner gardeners often find tomatoes, peppers, and marigolds easy to start․ For a continuous harvest, consider succession planting – sowing seeds every few weeks․ Ensure the seeds are fresh, as older seeds may have lower germination rates․
Read seed packets carefully for specific instructions regarding light, temperature, and spacing requirements․ Choosing compact or dwarf varieties is beneficial when space is limited․ Prioritize disease-resistant varieties to minimize potential problems later in the growing season․
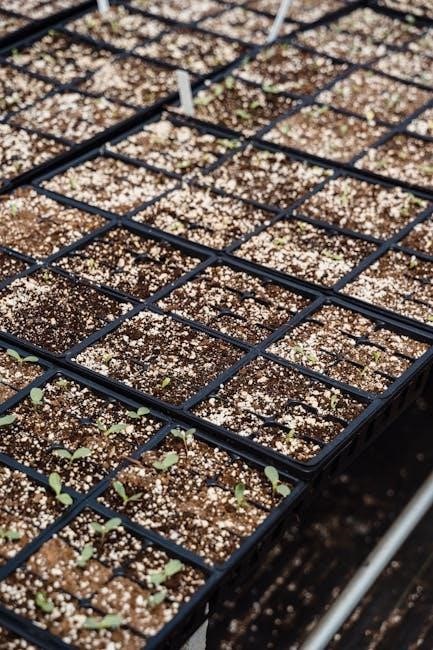
Sowing Seeds into Expanded Peat Pellets
Once the peat pellets have fully expanded, it’s time to sow your seeds! Gently create a small indentation – about ¼ to ½ inch deep – in the center of each pellet․ This provides a perfect little “pot” for your seed․
Carefully place one to three seeds into each indentation․ Avoid overcrowding, as this can lead to competition for resources․ Lightly cover the seeds with a thin layer of vermiculite or peat moss; this helps retain moisture․
Gently mist the surface of the pellets with water to settle the seeds․ Avoid disturbing the seeds too much․ Label each pellet with the seed type and date sown for easy tracking․
Seed Depth and Spacing Recommendations
Optimal seed depth is crucial for successful germination․ As a general rule, sow seeds at a depth equal to two to three times their diameter․ Tiny seeds, like lettuce or petunias, should barely be covered with soil or vermiculite – simply press them onto the surface․
Larger seeds, such as beans or peas, require a deeper planting depth of about ½ to 1 inch․ Spacing within the peat pellet isn’t a major concern, but avoid overcrowding․ One to three seeds per pellet is generally sufficient․
Refer to the seed packet for specific recommendations, as requirements vary significantly between species․ Consistent moisture is key after sowing!
Maintaining Optimal Growing Conditions
Ensure seedling success by providing adequate light, consistent warmth, and careful watering within your Jiffy Greenhouse․ These factors are vital for healthy growth!
Light Requirements for Seedlings
Seedlings require ample light for robust development, but direct sunlight can be too intense, especially through the greenhouse plastic․ Initially, a bright, indirect light source is ideal․ As seedlings emerge, consider supplemental lighting, such as fluorescent grow lights, positioned a few inches above the plants․
Aim for 14-16 hours of light daily to prevent legginess – a condition where seedlings become tall and weak due to insufficient light․ Rotate the seed trays regularly to ensure even light exposure on all sides․ Observe your seedlings; if they appear stretched or pale, they likely need more light․ Adjust the light source accordingly to promote strong, healthy growth within your Jiffy Greenhouse․
Temperature Control within the Greenhouse
Maintaining consistent temperatures is crucial for successful seed germination and seedling growth within the Jiffy Greenhouse․ Most seeds germinate best between 70-75°F (21-24°C)․ Use a heat mat underneath the greenhouse to provide bottom heat, especially in cooler environments․
Once seedlings emerge, reduce the temperature slightly to 65-70°F (18-21°C) to encourage sturdy growth․ Monitor the temperature inside the greenhouse with a thermometer․ Ventilation is key; open vents or the greenhouse lid briefly each day to prevent overheating and humidity buildup․ Avoid drastic temperature fluctuations, as these can stress young seedlings and hinder their development․
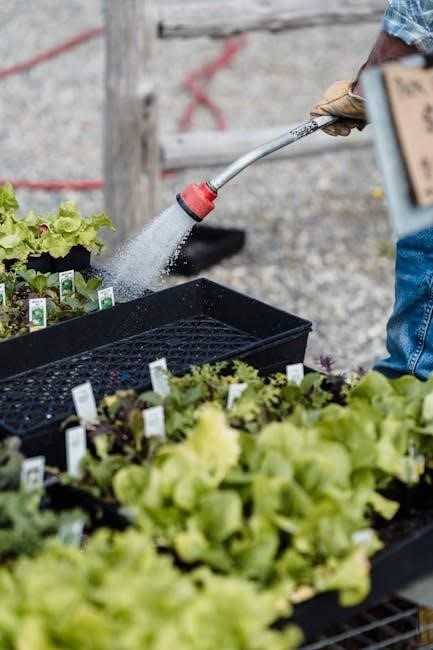
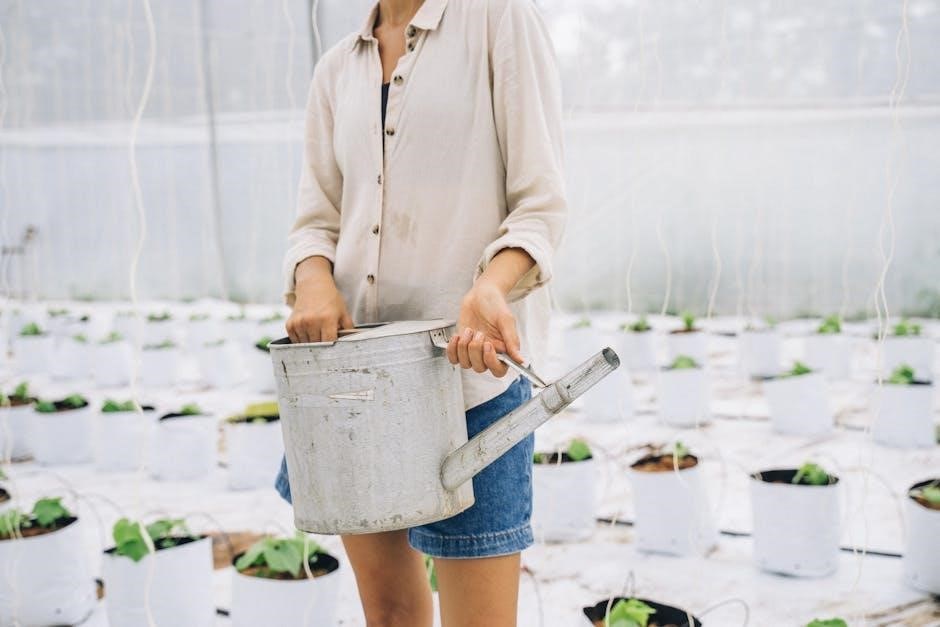
Watering Techniques: Avoiding Overwatering
Proper hydration is vital, but overwatering is a common pitfall․ Peat pellets retain moisture, so water carefully! After initial pellet expansion, only water when the surface feels slightly dry to the touch․ Use a spray bottle or gentle watering can to avoid disturbing delicate seedlings․
Bottom watering is recommended: place water in the greenhouse tray and allow the pellets to absorb it from below․ This encourages root growth downwards․ Ensure good drainage to prevent soggy pellets, which can lead to damping-off․ Monitor moisture levels daily and adjust watering accordingly, considering ambient humidity and temperature․
Troubleshooting Common Issues
Address challenges like mold or damping-off promptly! Maintaining optimal conditions and careful monitoring are key to healthy seedling development within your Jiffy greenhouse․
Dealing with Mold or Algae Growth
Mold and algae can appear due to excessive moisture and poor air circulation within the Jiffy greenhouse․ To combat this, ensure adequate ventilation by slightly opening the greenhouse dome․ Gently remove any visible mold with a clean tool, being careful not to disturb the seedlings․
Avoid overwatering; peat pellets should be moist, not saturated․ Consider a mild fungicide if the problem persists, following product instructions carefully․ Algae often forms on the greenhouse walls – cleaning with a diluted bleach solution (1 part bleach to 9 parts water) can help, but rinse thoroughly afterward․
Preventative measures include using fresh, sterile peat pellets and maintaining a clean growing environment․ Proper air flow is crucial for minimizing these issues and promoting healthy seedling growth․
Addressing Seedling Damping-Off
Damping-off, a fungal disease, causes seedlings to rot at the soil line, leading to collapse․ Prevention is key: use sterile peat pellets and avoid overwatering, as excessive moisture fosters fungal growth․ Ensure good air circulation within the Jiffy greenhouse to reduce humidity․
If damping-off occurs, isolate affected seedlings immediately to prevent spread․ Unfortunately, severely affected seedlings are often unsalvageable․ A fungicide labeled for damping-off can be applied preventatively to remaining seedlings, following label instructions precisely․
Improve ventilation and allow the peat pellets to dry slightly between waterings․ Starting with fresh materials and maintaining a clean environment are the best defenses against this common seedling ailment․
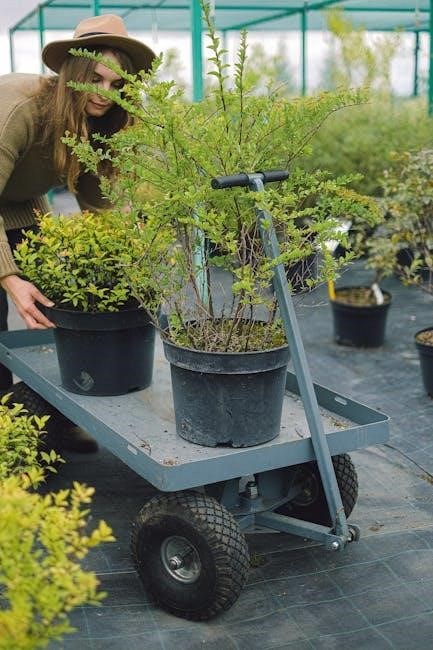
Transplanting Seedlings
Ready to move beyond the greenhouse? Gently transplant seedlings when they develop true leaves, preparing the garden bed and carefully removing them from the peat pellets․
Hardening Off Seedlings Before Transplanting
Before introducing your tender seedlings to the outdoor environment, a crucial process called “hardening off” is essential․ This gradual acclimation prevents transplant shock․ Begin by placing the Jiffy greenhouse, with seedlings inside, outdoors in a sheltered spot for just a few hours daily․
Increase the exposure time incrementally over 7-10 days․ Start with shade and protection from wind, slowly introducing more sunlight and airflow․ Monitor closely for signs of stress, like wilting or leaf burn, and adjust accordingly․ This prepares the seedlings for the varying temperatures, humidity, and sunlight intensity of the garden, ensuring a smoother transition and healthier growth post-transplant․
Remember, patience is key during hardening off – a gentle introduction yields the best results!
Preparing the Garden Bed for Transplanting
Successful transplantation hinges on a well-prepared garden bed․ Choose a location receiving adequate sunlight for your specific seedlings – typically at least six hours daily․ Clear the area of any weeds, rocks, and debris․ Amend the soil with compost or other organic matter to improve drainage and fertility․
Loosen the soil to a depth of at least 12 inches, creating a welcoming environment for root development․ Ensure the soil is moist but not waterlogged before transplanting․ Consider the spacing requirements of your mature plants when planning the layout․ A little preparation now translates to robust growth and bountiful harvests later!
Proper bed preparation minimizes stress and maximizes the chances of a thriving garden․
Gentle Removal of Seedlings from Peat Pellets
Carefully remove seedlings from the peat pellets to avoid root disturbance․ Gently squeeze the pellet from all sides to loosen its form․ Support the seedling’s stem near the soil line, and carefully lift it out of the pellet․ The peat pellet is biodegradable and can be planted directly with the seedling․
Avoid pulling the seedling by its stem, as this can damage the delicate roots․ If the roots have grown through the mesh surrounding the pellet, it’s perfectly fine to plant the entire pellet․ This minimizes transplant shock and encourages rapid establishment in the garden․ Handle with utmost care!
Remember, a gentle touch ensures healthy, thriving plants․
Extending the Life of Your Jiffy Greenhouse
Maximize your investment! Clean the greenhouse after each use and store it properly․ It can also be repurposed for cuttings or herb propagation․
Cleaning and Storage Instructions
To ensure longevity, thoroughly clean your Jiffy Greenhouse after each growing season․ Begin by removing any leftover peat moss or plant debris․ Gently wash the plastic components with warm, soapy water – a mild detergent works best․ Avoid harsh chemicals or abrasive cleaners, as these can damage the plastic․
Rinse completely to remove all soap residue․ Allow all parts to air dry fully before storing․ This prevents mold and mildew growth․ Disassemble the greenhouse for more efficient drying and storage․ Store in a cool, dry place, away from direct sunlight and extreme temperatures․ A garage, shed, or basement are ideal locations․ Proper cleaning and storage will keep your Jiffy Greenhouse ready for many successful growing seasons!
Repurposing the Greenhouse for Other Uses

Beyond seed starting, your Jiffy Greenhouse offers versatile repurposing options! Consider using it to propagate cuttings from your favorite plants, providing a humid environment for root development․ It’s also excellent for protecting delicate seedlings from late frosts or unexpected cold snaps․
Small herbs and succulents thrive within its controlled environment․ Even miniature terrariums can find a home inside! The greenhouse structure can also serve as a temporary cloche for individual plants in the garden․ With a little creativity, extend its usefulness throughout the year․ Don’t limit its function to just seeds – explore the possibilities!